
Superstore has some really cute coloured mason jars. I wish there were lots of colours to choose from but there were just two, the green one pictured here and a pink one that I wasn't smart enough to photograph before making it into a candle. The jars are the same size as the ones I used in my last candle post, 250ml or 1 cup, they're just a different shape.

I bumped up the amount of soy wax flakes I used per candle a little, so instead of 6 ounces I melted 6.5ounces. I also melted with the wax these little squares pictured above. They are wax melts that come in a bar and can broken in to squares. For the pink jar I added three of the squares on the left. They are sort of a salmon colour and matched the colour of the jar really well. The four squares on the left were melted with the wax for the green jar. I didn't have any really green wax and the wax I used didn't really add a lot of colour.

This is not a great picture but I wanted you to see what happened with the first one I made. It was night time and the house was pretty cool. I poured this candle and went to bed, waking up to the cracks you see. I was glad I melted a little extra wax because even though I didn't have any of these cracks in my last candles, something told me to save some of the wax in case this happened. I remelted the saved wax and topped this up so the cracks were melted from the heat of the added wax and since the house was warmer ( I waited for it to warm up) there was no further cracking. The candle in the green jar was made during the day and did not require any first aid. I've read that a heat gun can also be used to smooth out cracks or little holes in the wax.
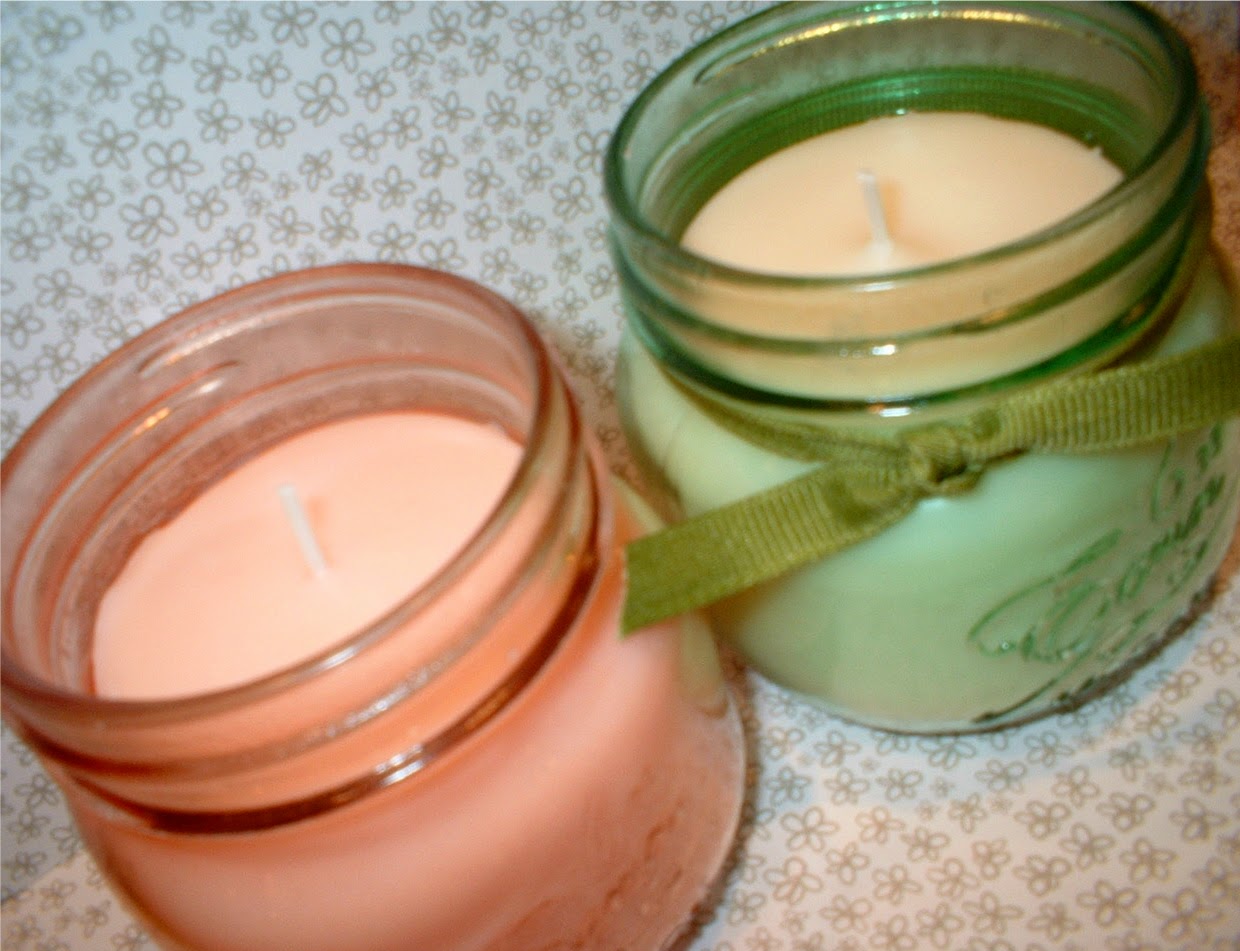
 And here they are finished, the one on the left is scented with Mango and the other candle is scented with Green Apple. The Green Apple is my favorite for sure.
 I've decided to start a bit of a gift cupboard this year. Its nice to have something to grab if you get a last minute invite for cake at a family member's birthday. I'll be able to easily tie a gift tag on to one of these if I don't have time to make a card. Thanks for stopping by!

No comments:
Post a Comment