Showing posts with label melt and pour soap. Show all posts

Tuesday, June 19, 2012

Op Art

 The last of the new slab trays this one is called Op Art. The green is a lot brighter in real life so you see more contrast.
Supplies 1.5lb Goat Milk soap base .5lb Lime Green Glycerin Soap base, Green Apple fragrance.
These trays just make it too easy, great for knocking off a bunch of teacher gifts.

Sunday, June 17, 2012

Arabesque Tray

Snapped a quick pic of this soap made with the new Milky Way Arabesque tray mold. I still don't have these on the web site, hopefully this week I'll have my laptop back & get it done. This soap is fragranced with Chai Tea. Other supplies: Goat Milk soap base 1.5lbs, Clear soap base .5lb, Cappucino Mica. Thanks for looking!

Thursday, May 24, 2012

Pastel Glycerin Soaps

 One pound of clear glycerin soap with one square of lime green coloured glycerin soap. Fragranced with Pear.
 One pound of clear glycerin soap coloured with one square of pink coloured glycerin soap. Fragranced with Cotton Candy.
 One pound of clear glycerin soap coloured with one square of purple coloured glycerin soap. Fragranced with Spring Rain.
Clear (non coloured) glycerin soaps seem to be trending right now, but just as I don't like a really white opaque soap, I like a little colour in a glycerin soap. To see what I mean by one square of coloured soap refer to the pictures in this post.

Linked to Kristen's Blog Party.

Thursday, April 19, 2012

Melt & Pour with Salt

Melt & Pour soap with Course Sea Salt - from a 2008 newsletter


This recipe fills a 12 inch drawer organizer. We were going for colourful soap but all within the same colour range. You could use contrasting colours if you wish. This is also a good way to use up bits of leftover soap.

• ½ lb clear glycerin soap

• ¾ lb coloured glycerin soap cut into small squares

• ¾ lb coloured glycerin soap in a slightly different colour than your soap chunks.

• ½ cup of coarse sea salt

• Cosmetic Grade Glitter (optional)

• 2 tsp Fragrance (we used White Tea)

Rubbing Alcohol in a fine mist sprayer

Melt the clear soap, add 1 tsp of fragrance and pour into the drawer organizer. Let this thicken up and get a fairly firm skin on top. While this is happening you can melt the coloured glycerin soap (not the cubed soap), adding another tsp of fragrance once its melted. When the clear soap is set up enough, spray it with the rubbing alcohol and toss in the cubed soap. You can poke some of it through the thick skin of the soap if you wish. As we were putting in the cubed soap, we were sprinking it with course sea salt and some of the cosmetic glitter. Spray generously with more rubbing alcohol. Now add ½ of your melted coloured soap. Again, have a little patience and let this sit and get a thick skin, strong enough to hold some more salt. When this has happened, spray again and sprinkle some more salt and glitter on the soap and then finish filling the mold with the rest of the soap. We added a little more salt and glitter into our final pour and then waited to see what we would get once everything had hardened.

Voila! Here is our soap. The first thing we did was cut a piece each for ourselves to try. Smells good, lathers great, nice and creamy – not quite as exfoliating as the fine salt soap, but it looks neat and was super easy to make. Try it yourself!

Edit: The drawer organizer referred to is a Rubbermaid brand 12 inch long organizer. The total weight of the soap is 2lbs which gives about 10 bars of soap.

Saturday, March 31, 2012

Cotton Candy


Here's a small batch (just these four bars) of melt & pour soap scented with Cotton Candy fragrance. Made with 1lb of clear melt & pour (with some pink coloured chunks) & poured in to an eight inch drawer organizer, the clear soap has a some blue cosmetic glitter added to it and there was a bit more sprinkled on top after the pour. Place the coloured soap chunks in to the mold first then spray with rubbing alcohol before pouring the clear soap in to the mold. If you want to use glitter, it gives a little more sparkle than mica, make sure its cosmetic grade. Look for it in the makeup sections in drug or department stores. If you're lucky you'll find a pack of mixed colours. Look closely to make sure its not in a gel, you want free flowing glitter if you want to stir it in or sprinkle it on top. We've only had this Cotton Candy a few days and its already got a following.

Spring Rain Soaps

and scented with our new Spring Rain fragrance these flowers have just a hint of colour in the mold detail and really do smell like springtime. To fill in the detail (esp on the two flowers in the front) its easiest if you have a dropper or pippette. Last year I did the ones pictured below with a small measuring cup but it was more difficult and it looks like I gave up and went to solid colours:)
Linked to Kristen's Blog Party at http://www.kristenscreationsonline.blogspot.com/


Monday, February 27, 2012

Cookie Pan Soap Mold

This is the Presidents Choice cookie pan I used as a mold for the butterfly
shaped soaps pictured below.

Saturday, February 25, 2012

Butterflies + Mica

Butterfly Soaps made with our Purple coloured glycerin soap & fragranced with Lavender.

The same three soaps pictured above after being brushed with a few different mica powders.

Friday, February 10, 2012

Red & White Soap

Strawberry scented soap made with the red glycerin & white goat milk bases. That red soap still sinks, even if you pour  it in at the same time as the goats milk. I guess you could also call this one mold, two looks.
Linked to Kristens Creations at
http://www.kristenscreationsonline.blogspot.com/

Thursday, February 2, 2012

Coloured Melt & Pour

Here are a few of the colours of the new soap. They will look a little different on all screens but these ones are Yellow, Lime Green and Purple.
Sorry its not the best picture, snapped it really fast this morning (at around dark thirty), no natural light.

Wednesday, January 18, 2012

First Soap of 2012

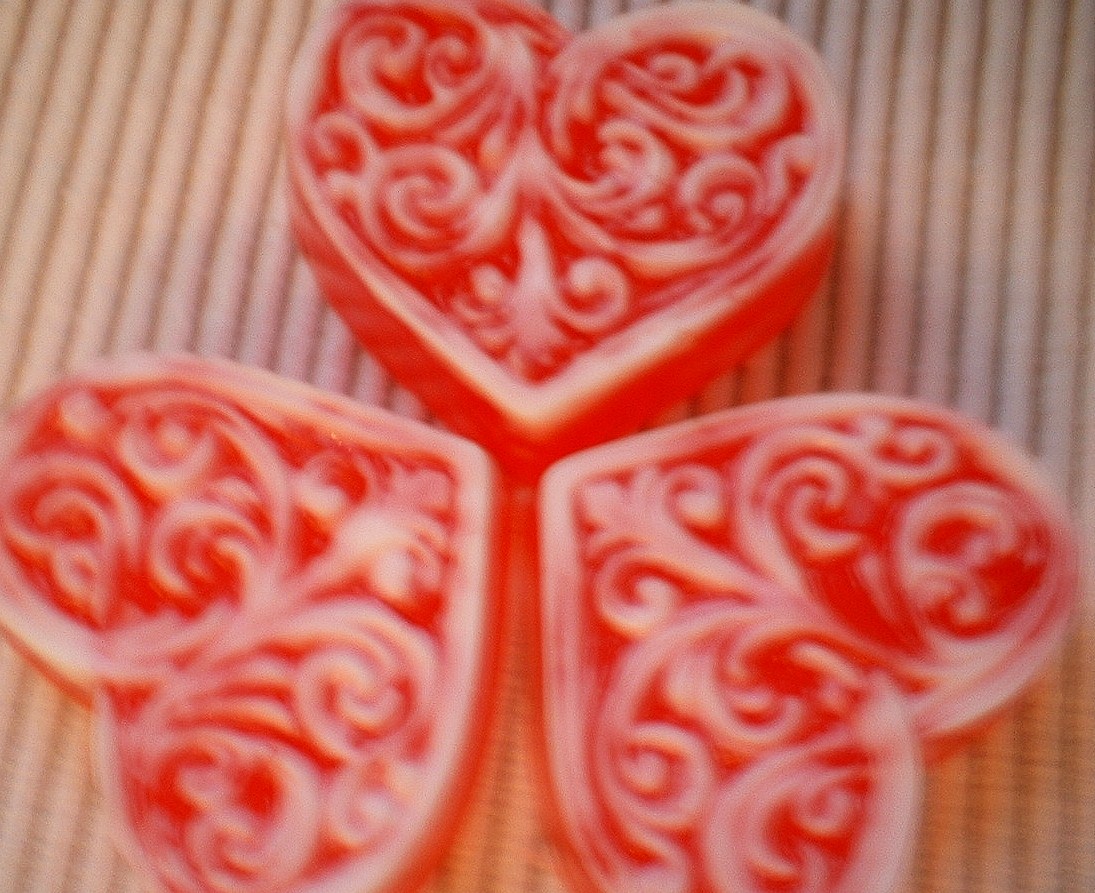
I finally made soap! The hearts are made with honey soap base coloured with mica. They are scented with Chocolate fragrance and the goat milk background is scented with Snickerdoodle. This mold is currently 10% off.

Sunday, November 20, 2011

To Bleed or Not to Bleed

The top red layer of this soap would normally bleed into the the white layer over time but hopefully the thin brown layer will act as a barrier. If the red does bleed a little into the brown it shouldn't be noticeable. Non bleeding reds are hard to find and will usually bleed eventually anyway (with melt and pour).

Monday, November 14, 2011

Christmas Mice Soaps

Nothing says Christmas like little mice wearing stocking caps. These caramel coloured mice are made with honey (mostly) and goat milk soaps. All Milky Way seasonal molds are currently sale priced at 2 for $12.99.

Wednesday, September 14, 2011

Chocolate Milk with Caramel

Inspired by last year's Orange Chocolate Truffle, this soap has a delicious fragrance and fudge like appearance, so make sure you label it clearly! Recipe below.

For an 8 inch drawer organizer you will need 1.5 lbs of Goat Milk Melt & Pour.

 For the first layer melt 15 squares (.75lb) of soap. Stir in 1 tsp of Salty Caramel fragrance and 1/4 tsp of Honey Beige Mica. Spray with rubbing alcohol if the mica clumps. Pour into the organizer - I placed mine on a slanted board.

Melt the rest of the soap for the second layer and add 1tsp of Chocolate fragrance plus 1/2 tsp of orange essential oil (optional, I couldn't help myself). Colour this layer with 1/4 tsp of Cappucino Mica.  Your first layer should have a very thick skin on it by the time you have the second layer ready. Spray the soap in the mold with rubbing alcohol and pour the second layer on top. If your mold was on a slanted board put it flat before you pour.
If you have a 12 inch organizer you will need 1lb of soap for each layer, 2lbs total.

Melt & Pour soap is 10% off until Sept 30 so hopefully you will try this recipe!

Monday, July 11, 2011

Soap and Stamps


Just messing around with clear stamps in an eight inch drawer organizer and some melt & pour. Hope everyone had a good weekend.

Friday, January 21, 2011

Dollar Store Clothes Pegs

The mini clothes pegs pictured here came from a package of 6 that I picked up at the dollar store. They will be used to attach a mini gift tag to the ribbon but I thought you would see the clothes pegs better without the tag. Fun for packaging or accenting gifts for your Valentine. How about for attaching a gift card to a soap or Valentine card that you made?

Saturday, January 15, 2011

Breakaway Hearts

One pound of soap will give you the 4 bars pictured here. Cutting each bar on the score lines will give you 12. I cut one after I took this picture and they look really cute. They would make great guest or party favour soaps. These shapes are always easy to wrap too.

Tuesday, January 4, 2011

Snowman Soup


Happy New Year. I'm slowly getting caught up from the long days at the store last month and wanted to make some really quick and easy soap. I hadn't used my 12 inch drawer organizer in a long time so I pulled it out knowing it would hold exactly 2lbs of soap. This green soap fragranced with grapefruit and spearmint essential oils has little bits of snowman on the top. I had a couple of snowman soaps left over from the holidays so they became soap curls that I sprinkled on the soap once it was in the mold/organizer. Waste not want not:)

Sunday, November 28, 2010

Blue Clay Beads


As with the Green clay beads, these Blue clay beads sink to the bottom in melt & pour soap. The soaps here are clear melt & pour with a bit of white mica and peppermint oil and some blue clay beads stirred in. Very simple. The effect is cool and icy. Thanks for looking!


Friday, November 12, 2010

Seeing Stars

If you like ornate Christmas molds you can't beat the Milky Way Star Mold. It makes such pretty soaps, and bath bombs too. The first picture here looks kind of orange but is pinker in real life. These were coloured with pink mica. The stars in the picture below were coloured with cappucino mica. For both soaps the mica was added to clear melt & pour and then a layer of goats milk was added on top (which ended up being the bottom the way they are now ha!). Thanks for looking.